|
Adjusting
the TV Set
After the set has been repaired, all of the adjustments
should be checked so that the set can be returned to the
customer in "tip-top" condition. To make it easier
for you to see the face of the tube while you are working
back of the set, place a mirror in front of the set. If
you plan to do a great deal of TV work, purchase one of
the special stainless steel mirrors with a mounting clip.
These are available from most parts distributors.
Turn the set on; make certain that the set is connected
to an antenna and to the power line. Set the brightness
control to maximum and the contrast control to minimum.
If the set has an ion trap, its adjustment may be touched
up at this time. (Warning: After installing a new picture
tube, the ion trap must be adjusted at once to produce a
raster on the face of the tube. If this is not done immediately
after the set is turned on, the picture tube may be seriously
damaged or ruined. To make this adjustment of the ion trap,
rotate it and slide it back and forth a short distance until
a bright raster is produced on the face of the picture tube.)
The position of the ion trap must be adjusted to produce
the brightest raster that can be secured. If it proves difficult
to locate the exact position at which the brightness raster
is obtained, reduce the setting of the brightness control,
and then readjust the ion trap.
Next, adjust the focus control to make the visible lines
in the raster as sharp as possible.
Readjust the ion trap for maximum brightness consistent
with good focus. Then, inspect all four corners of the raster
carefully to make sure that no shadows exist. If shadows
are present, it will be necessary to reposition the focus
coil, and carefully readjust the focus control and the ion
trap.
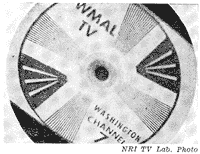
Fig. 6. A tilted picture like this means
that the
diflection yoke is rotated from its correct position.
If the raster is tilted with respect to the picture mask,
the mounting screw on top of the deflection yoke should
be loosened and the yoke rotated until the picture is square
with respect to the mask.
Set the channel selector to some station that is on the
air-preferably one that is transmitting a test pattern-and
tune in the station in the usual way. Adjust the horizontal
hold control and the brightness control to obtain a satisfactory
picture.
When
you have a steady picture, check the range through which
the horizontal hold control can be rotated without throwing
the picture out of sync. If all of the control range is
at one end, look for an adjustment on the rear of the set
that is marked "horizontal lock-in range." By
adjusting that control, you will be able to set the holding
range in the center of the horizontal hold control.
Then check the centering of the picture. When the centering
is properly adjusted, "the bull'seye" section
of the test pattern will be in the middle of the screen.
If it is not, check the instructions for the set, and then
carry out the centering procedure.
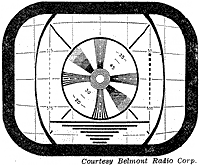
Fig. 7. This condition is produced by
improper ad-
adjustment of the height (vertical size) control.
Fig.
7 and Fig. 8 show the effect of improper adjustment of the
height (vertical size) control and/or the vertical linearity
control. Adjust the height control until the picture fills
the mask vertically. Then adjust the vertical linearity
control until the distance between the center of the bull'-eye
and the top of the picture equals the distance between the
center of the bull's-eye and the bottom of the picture.
It may be necessary to make several adjustments of the vertical
height and the vertical linearity because the adjustments
inter-act with each other.
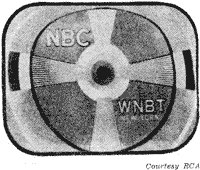
Fig. 8. This type of pattern is obtained
when
the height control and/or vertical linearity
control is not adjusted properly.
The
width control, the horizontal drive control, and the horizontal
linearity control must be adjusted to produce a picture
that fills the mask horizontally and is undistorted. These
controls inter-act, so you will probably have to make several
adjustments. (See Fig. 9.)
By adjusting the width control, you may be able to obtain
satisfactory linearity with sufficient width. However, if
the horizontal output circuit is considerably out of adjustment,
you should first set the horizontal drive control to obtain
a picture of maximum width with good linearity.
Next, adjust the horizontal linearity control to correct
any distortion that might be present, and finally adjust
the width control to make the picture fill the mask horizontally.
If the vertical size and linearity controls have been properly
adjusted, the major circle in the test pattern should now
be round.
|
